How to Install Aluminium Venetian Blind
With our step-by-step guide you'll have your new Aluminium Venetian blind up in no time.
Fitting your new Aluminium Blind should be simple, and enjoyable. Just follow the instructions below, check out the videos and grab your tools. If you need any assistance along the way please give us a call or start a live chat and our highly trained customer support team can help get things moving in the right direction.
You Should Have:


Inside Recess Fitting Video - Aluminium Blind
Outside Recess Fitting Video - Aluminium Blind
Step by Step Fitting Instructions
-
Step 1
If you’re fitting the blind outside the window recess ensure that measurement C in the diagram below is the same to ensure even window coverage.
If you’re fitting the blind inside the recess you can top fix the brackets to the lintel or face fix the brackets to the window frame.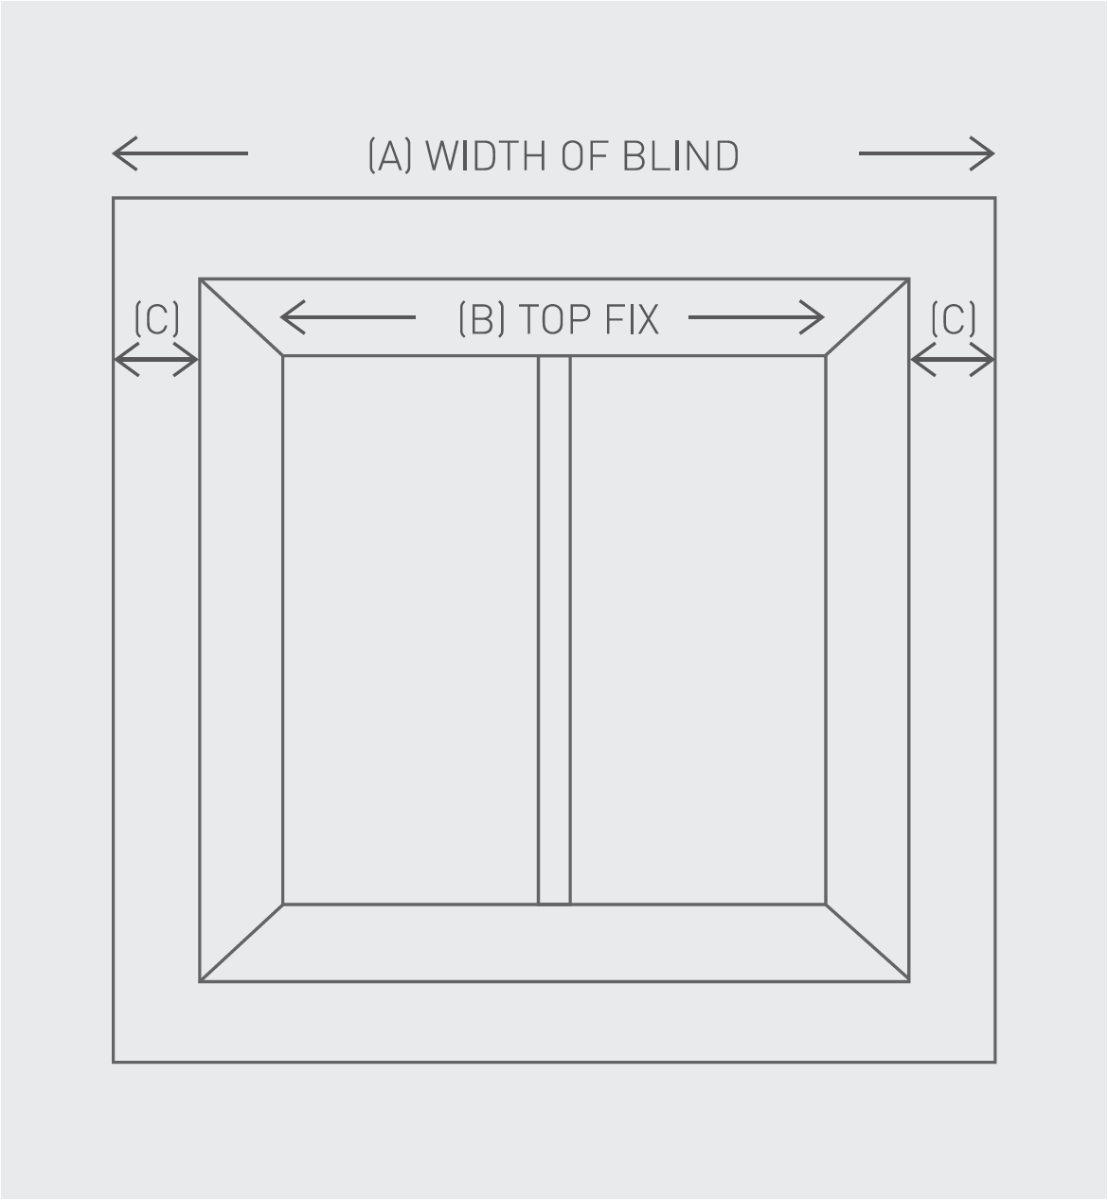
-
Step 2
The brackets can be used to face fix to the wall or window, or top fix into the top of the window recess. You will need to ensure that if you are top fixing the blind, you will need to install the brackets far enough away from the window to avoid the window handles. Brackets can't be installed within 10cm of the ends of the blind due to the raise and tilt mechanisms. Once the brackets are installed, you will need to open the swivel arms of the brackets so they are facing you.

-
Step 3
Now the brackets are installed, take your blind and offer it up to the bracket, keeping the metal swivel arms open and poinitng towards you.

-
Step 4 - Optional
Hold down clips are optional.
Using two small screws,screw the hold down clip to the window facing or the wall/window recess. Pop the bracket pin ends into the hole at bottom rail end.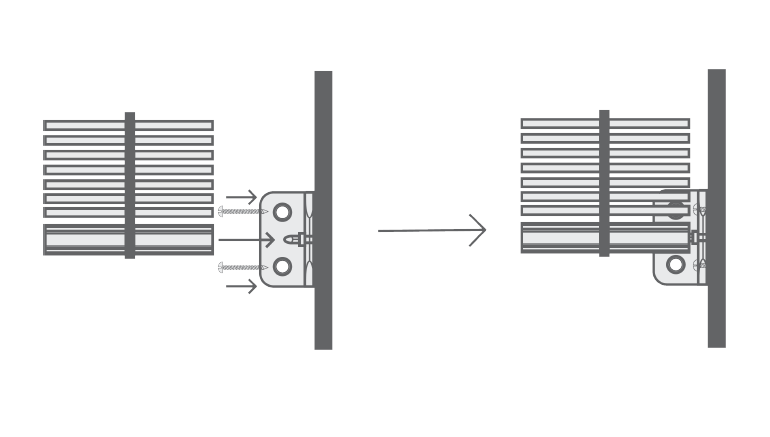
-
Step 5
You must install the safety cleat as close to the headrail of the blind as possible and in all cases not less than 1500mm from the floor.
Place the safety cleat in the desired position on the wall and mark the positions of the holes with a pencil. Drill holes as required.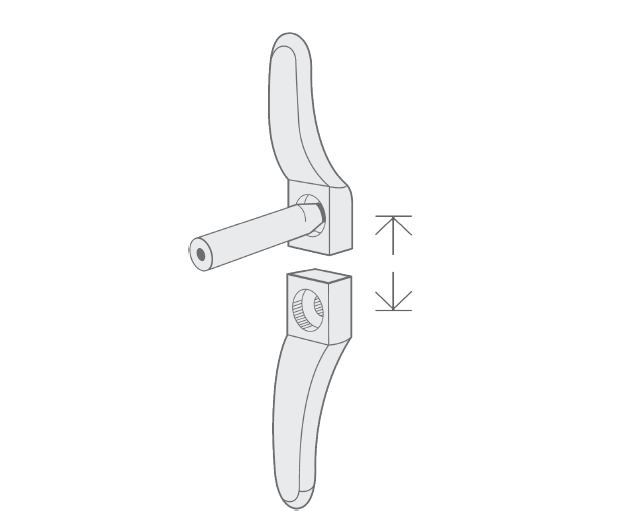
-
Step 6
Use the screws provided to attach the safety cleat to the wall in the pre-drilled holes.
-
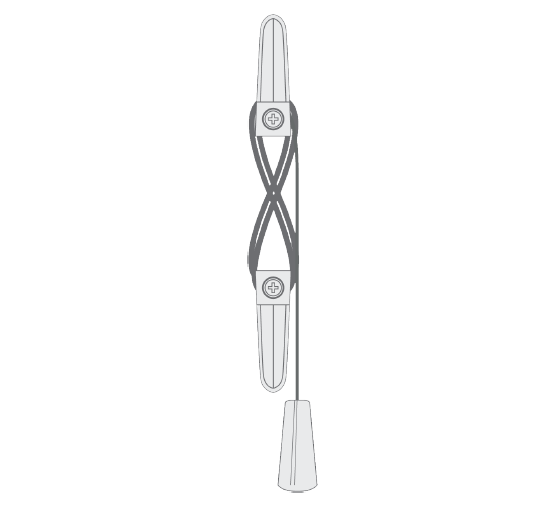
Step 7
Wrap the cords around the cord cleats in a figure of 8. When the cords are fully accumulated ensure they are secure so when any cord is pulled no excess cord is released.
-
Operation
To tilt blind pull on required tilt cord tassel to tilt slats to the open or closed position. Tilt the blind to the horizontal position when lifting or raising to increase blind life.
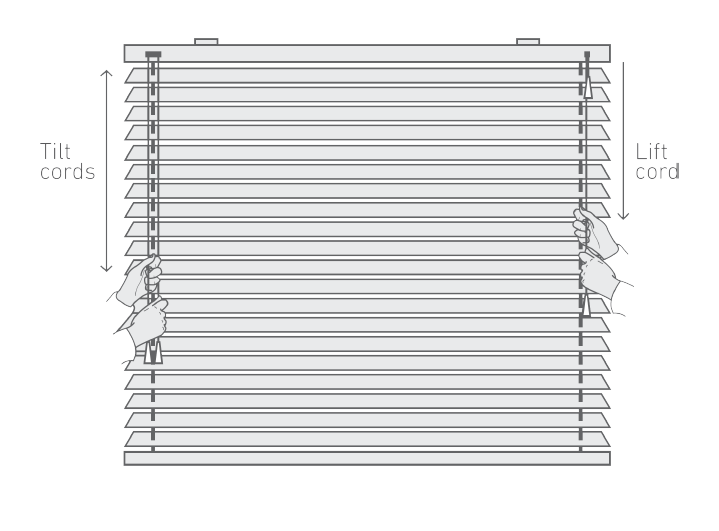


To lower move lift cord towards the middle of the blind pulling down gently until cord lock releases. To raise pull lift cord downward until blind reaches desired height.
To lock pull lift cord towards the outside of the blind and release. The cord will automatically lock.